
What is the process of installing a tint for car/building?
Window film has become one of many top choices for owners to protect their properties whether it is for the assets in the buildings or the car itself. Window tint is a process of applying tint film to the windows of homes, buildings and/or vehicles. It is recommended to get consultation and to let trained technicians do it as they’ve got professional skills for meticulous tasks using high quality tools and equipment for a smooth and clean result. The installation of the tint film may only be somewhat different for building and car, but similar in most ways as the sizes and the context to install them are different such that buildings tend to have windows in standard, flat square or rectangle shape can only be installed on-site, whereas automobile window may have uneven shape and/or dimension, and it can be installed in a shop.
Proper preparation is vital for the installation process to take place. Installation duration usually depends on the size of the buildings or vehicles.The process is rather straightforward to prepare for both window surface and tint film. Be sure to pick a clean and dust-free place to ensure lesser dust to interfere with the process later on. You can first prepare the tint film ahead of time before preparing the window. Take a measurement of the window to prepare a dimension that the tint film can fit perfectly according to its shape and sizes. It is recommended to cut the film an inch allowance for each of the window’s dimensions in case of expanding and contracting of a normal window.
Next, the window must be cleaned with the correct soap and mild glass cleaner to remove every bit of dirt and debris on the glass, corner and frame. This step is crucial as it is to prevent the dirt from getting stuck in between the film and window which may cause the bubble appearance that could interfere with the adhesion after it is fully dried. Then, spray a generous amount of soapy water solution directly onto the film and window surface thoroughly as this is to reduce the static electricity to attract dust. With the slippery surface on the window, this makes the film easier to position and move during the installation process.
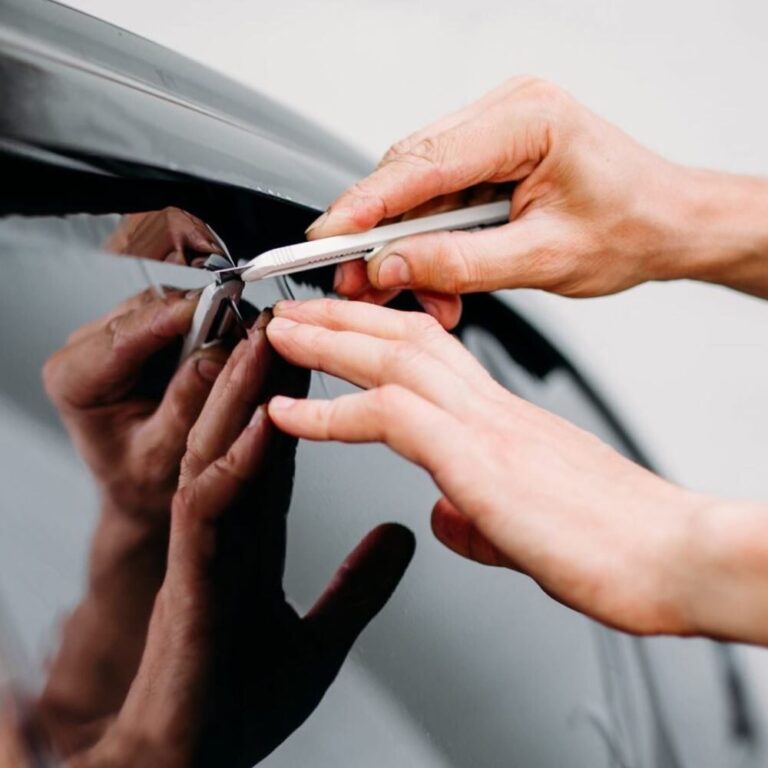
Now when the tint film and window are ready, remove the film liner from the film, and spray the solution once more to reduce the static caused by the liner removal. Then, place the cut film, the adhesive side facing the window and ensure each edge aligns properly. Start from the center and push towards the edges. Carefully spray the soapy water again to push the dirt out using the water, squeegeed dry the water and air bubbles out to smoothen the film along with the dirt and residue left. Once it is done, slowly trim off the excess film with proper sharp tools to create clean and precise edges of the glass frame.
To finalize the installation, apply heat using a heat gun or hair dryer on the film to help conform the curves of the window while continuing to smooth out the remaining with squeegee. Leave the window to cure completely for about minimum of 3 days to a week. Curing duration varied according to the type of films and water removal techniques. Lastly, keep all the sharp tools back in place.
You can now have a window which can protect you against the heat and UV rays as well as to protect your assets for a longer duration. With our current technology, people have the access to JD Evolution brand as car window tinting specialist which offers superior heat rejection. JD Evolution may not be the cheapest in the market, but the heat performance and quality saves a long-term financial saving over time.